introduction to EVA Foam Armor Crafting
Painting Stencils
I originally learned this method when I was painting hood numbers on my WW2 jeep. Ray Cowdery teaches this basic method in his book All American Wonder, Vol 1
and All-American Wonder, Vol. 2
.
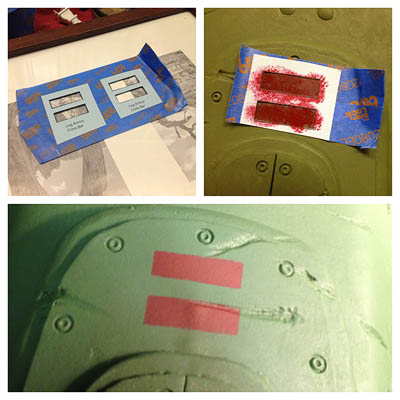
- Create the artwork for your stencil either by hand drawing it or better yet, use Adobe Illustrator or other software to trace the stencil in the original texture map. Print the stencil artwork onto card stock.
- Lay down overlapping strips of blue painters tape on the glass from an unused picture frame. I find it's helpful to fold under one edge of the tape. This makes it easier to peel the stencil off the glass when you're ready to paint.
- Spray the back of the stencil with spray adhesive such as 3M 77 Super Multipurpose Adhesive.
- Place the stencil onto the blue painters tape.
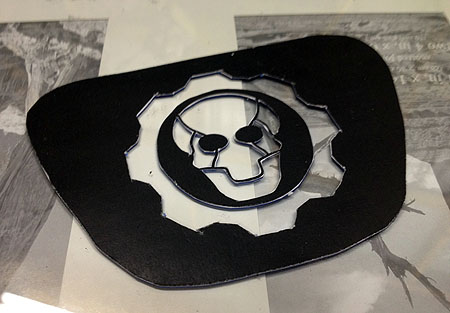
- Cut out the stencil.
- Carefully peel the tape/card stock off the glass & affix it to your prop.
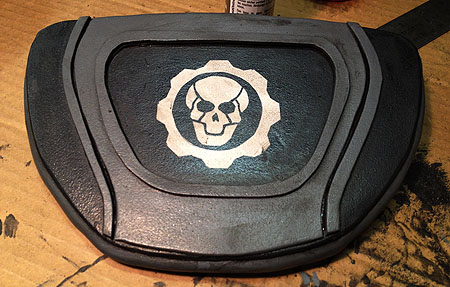
- I would recommend painting stencils with either Testors Acryl, Testors Enamel, or spray paint. In this example, you can see that I used a very stiff brush & dabbed the paint onto the prop, giving it the look of a stencil applied with an old school stencil brush.
Note: I would recommend that you DON'T use the acrylic paints from Wal-mart/Hobby Lobby. They don't have enough pigment in the paint, so you'll end up having to paint multiple coats. This will give you blurry stencils.
More Stenciling Photos and Information
| <-Back to Simulated Rivets |


